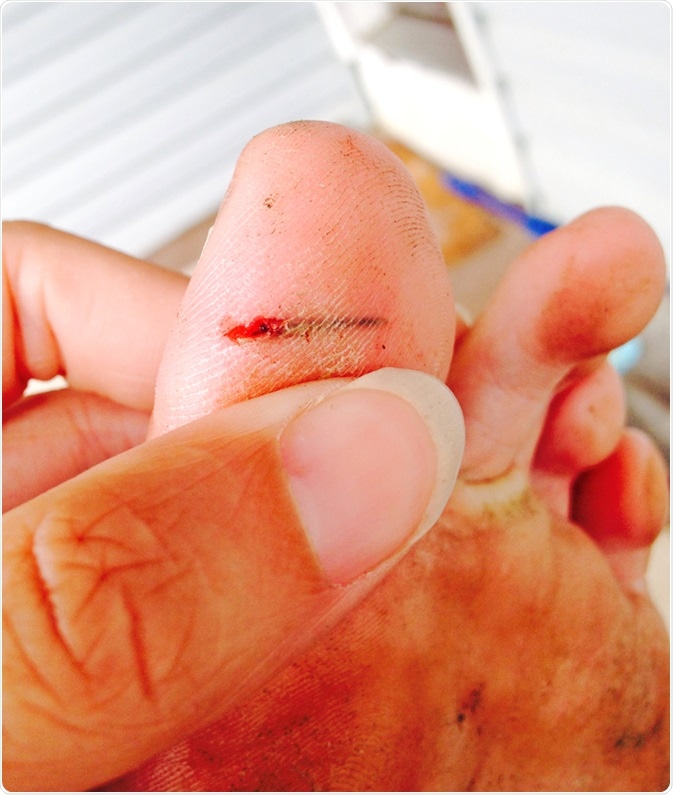
It is quite common to encounter a splinter in the skin. While superficially embedded splinters are easy to pick out, this may not be the case with large or deep splinters. Most splinters are made of wood, glass, plastic or metal.
Wooden splinters are likely to react and cause infection or granuloma formation, as is any vegetative material. However, imaging is often used to accurately localize the splinter, which will also helps to reduce the size of the incision made to remove it and make the process less time-consuming.

Splinter. Image Credit: Wendy van Overstreet / Shutterstock
Removal at Home
Before attempting to remove a splinter at home, the caregiver’s hands should be thoroughly washed with soap and water. Using tweezers, the splinter is grasped and pulled out along the path of entry. If the splinter is visible under the skin, a pin or needle may be sterilized by holding the tip in a flame for a few seconds, or by soaking it in rubbing alcohol. Its tip is then feathered over the splinter repeatedly until it comes into contact with the splinter, at which point the tip is used to lever out the end of the splinter so that it can be grasped with tweezers and pulled out. The area should be washed clean with soap and water and patted dry, and if required, covered with antibiotic ointment and a bandage.
How to Remove a Splinter
Medically Assisted Splinter Removal
If the splinter site is inflamed or infected, under the nail or deeply embedded in the skin, or near or inside the eye, it is better to seek medical help to remove it. If the splinter is old, no entry track may be visible, but it may present as an indurated area or a granuloma. The lack of a history of splinter entry does not rule out its presence. An X-ray will usually show the presence of a glass splinter, but wood is not visible. However, lead-containing paint on wood will be radio-opaque.
In this case, a horizontal splinter should be exposed along its length by a sharp incision, and then lifted out with forceps. A vertical splinter is located, the incision deepened around it and a tiny cone of tissue lifted out with the splinter, because it is contaminated.
A subungual splinter is removed by first making a V-shaped cut in the nail with the point at the farthest tip of the splinter. This tip is then held firmly and removed.
Auxiliary Techniques
If any splinter is close to the course of a blood vessel, tendon, nerve, or any vital organ, imaging modalities should be utilized to locate the exact site and remove it without damage to the nearby structures. CT or MRI scanning are helpful in localizing wood splinters near the bones. Ultrasound is another good way to find splinters especially when they are radiolucent. A needle may be inserted to mark the location for later removal.
When splinter removal is delayed, anesthesia may be required, as well as the use of magnifying lenses and a sterile field. This is especially so if the splinter is vertical. The area should be properly washed clean and the wound allowed to close by itself or closed with sutures later, if required. Tetanus prophylaxis should be administered if the patient’s immunizations are not current.
References
- http://www.aafp.org/afp/2003/0615/p2557.html
- https://www.ncbi.nlm.nih.gov/pmc/articles/PMC3071174/
- https://medlineplus.gov/ency/article/002137.htm
- https://www.aad.org/public/skin-hair-nails/injured-skin/splinters
Further Reading
Last Updated: Jun 25, 2019