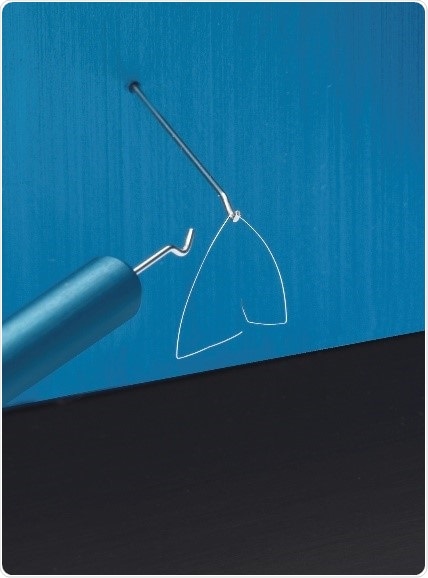
The new METTLER TOLEDO White Paper "Traceability with Microgram Weights" explains the factors that must be considered in the design, manufacture and calibration of sub-milligram weights in the range 0.5 mg to 0.05 mg. Calibration is critical for achieving traceability of measurement and the National Measurement Office UK (NMO) was the first laboratory in the world to achieve accredited status.
The new METTLER TOLEDO White Paper "Traceability with Microgram Weights" describes the challenges of becoming the first calibration laboratory in the world to achieve accredited status for calibration weights in the microgram range. National Metrology Institutes (NMI's), private calibration laboratories, weight manufacturers, and scientists involved in nanotechnology applications will benefit from understanding the process of design, handling, manufacturing, and calibration of weights in the range of 0.05 mg to 0.5 mg.

The white paper explains the choice of material, ideal shape, and specialized tools designed for handling and transport of microgram weights by Mettler Toledo. It also covers in detail the steps involved in achieving accreditation and the calibration process used. The dual system developed by the National Measurement Office (NMO) in the UK uses a combination of sub-division and Borda’s methods against two separate 1 mg stainless steel reference standards.
ASTM International, one of the three major weight specifications used in the United States, has recognized the recent progress made in the field of microgram weights. The Standard Specification for Laboratory Weights and Precision Mass Standards (ASTM E617-13) was revised in 2013 to include a definition of sub-milligram weight specifications with maximum permissible errors (MPE).