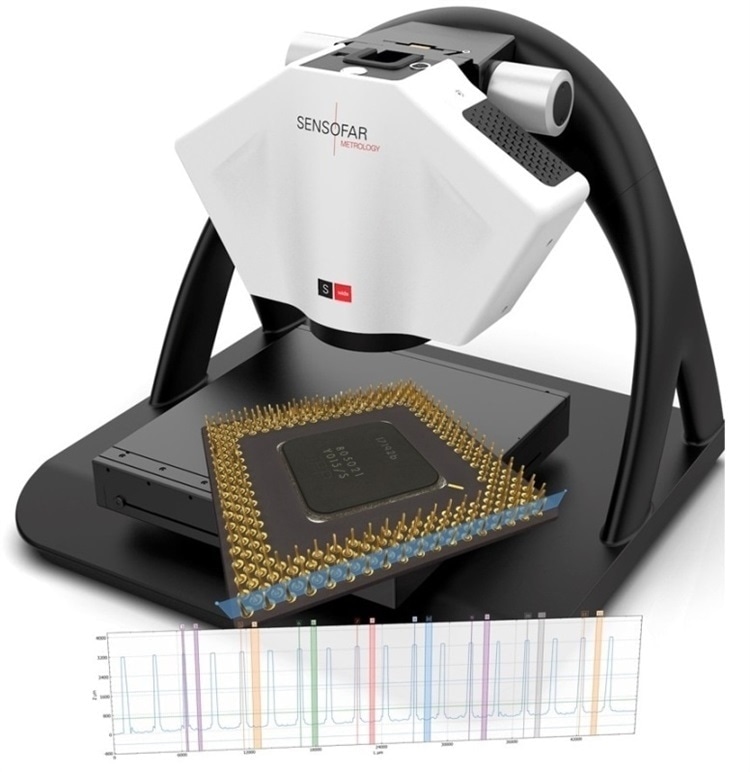
Sensofar Metrology is proud to announce the release of the next metrology tool for wide areas. The S wide is a high-performance non-contact 3D optical large area metrology system designed for micro-scale measurement, with advanced inspection and analysis capabilities.

Sensofar Metrology’s new large area 3D optical metrology system, the S wide
The S wide is a dedicated solution designed to rapidly measure large sample areas up to 300 x 300 mm (11.8 x 11.8 in). It provides all the benefits of a digital microscope integrated into a high-resolution measuring instrument. Extremely easy-to-use with one button data acquisition.
The most significant features are:
- One shot height measurement up to 40 mm without Z-scanning.
- Sub-micron height repeatability over entire extended area.
- Form deviation from 3D CAD models (providing the geometric difference and tolerance measurement).
- Bi-telecentric lenses with very low field distortion providing accurate metrology.
The S wide is intended to the following solutions:
- Advanced manufacturing
- Archaeology & Paleontology
- Consumer electronics
- Medical devices
- Molding Optics
- Watch industry
The S wide is ideal for all lab environments, without limitations and as sensor in production areas.
Every S wide is manufactured to deliver accurate and traceable measurements. Systems are calibrated and traceable according to the ISO 25178 and VDI2634-2 standards.
The S wide comes with SensoSCAN which drives the system with a clear, intuitive and user-friendly interface and is coupled with new software SensoVIEW for a broad range of analysis tasks. Automated analysis modules have been created to make all QC procedures easier with SensoPRO.
Further details can be found at www.sensofar.com/swide.
The S wide system will be premiered at the upcoming webinar (April 8, 2020):
Broaden your Horizons with the New Sensofar System S Wide
Source: https://www.sensofar.com/